As I was in DESPERATE need of doing my brows, I thought I'd throw a tutorial your way. Now please keep in mind, I really truly recommend getting your brows done by a pro, as they can easily be goofed up. Also, all brows are different. It completely depends on what you already have to work with, your natural shape, and what you want; such as full & natural or high arch & thinner. I always consult before I mark my brow territory & then show you what I'd like to remove & keep & so forth. Most pros should do this unless you've been going to the same person & really happy with your shape. Shape does depend on your face too!! Everyone should get a customized brow as in everyone's face is different & natural brow is different too. Also some good tips to know! Both brows are never truly 100% identical. Overly thin brows are out & steer away from hooks or question marks. Brows should have a little more density & rhythm...they should connect! As we head into tinting....don't EVER tattoo your brows!!!! This should never ever happen! It never looks good on anyone!!!! Cheers to your best brows! : )
 |
| Set up for waxing & tinting. Should be very clean & Aesthetician should use a new stick for each wax application. |
 |
| 1. Measure "start" of brow by aligning stick with corner of outer nostril straight up. |
 |
| 2. Measure arch by aligning stick with outer edge of nose/corner running straight through pupil. This can change depending on width of face & nose. FYI |
 |
| 3. Align stick with corner of nose & outer edge of eye. |
 |
| 4. Note: marks made for start, arch, & end. I measured the other brow between photos. |
 |
| 5. Connect the lines. Your brow shape should have straight lines connecting your start, arch, & end. |
 |
| 6. Comb brow hairs to prep for trimming. |
 |
| 8. The last half of the brow should be combed downward & trimmed with scissors curving down. |
 |
| 9. Start by waxing the middle area. Apply muslim strip pressing up & down. Taught the skin & yank muslim in a downward motion. |
 |
| 7. The front half of the brow should typically be trimmed up top with the slanted scissors curved up. |
 |
| 10. Apply wax to top of brow to remove fuzz. Press muslim in direction of hair growth. Typically from start of brow to arch. Taught skin & pull in opposite direction. |
 |
| 11. Follow with top from arch to end. Follow the same directions & don't forget to taught the skin. |
 |
| 13. Apply wax from arch to end. Follow with muslim. |
 |
| 12. Apply wax from start to arch. Always press muslim in direction of hair growth & pull in opposite direction. |
 |
| 14. Always prep skin prior to tint application by coating the skin around the brow with either vaseline or a jojoba oil. This prevents staining on the skin. In a small bowl squirt your color of choice. There is no need for a ton of color as this is a small area of hair. *My favorite pro tint brand is Intensive. Anything from Sally's Beauty Supply is not worth purchasing. |
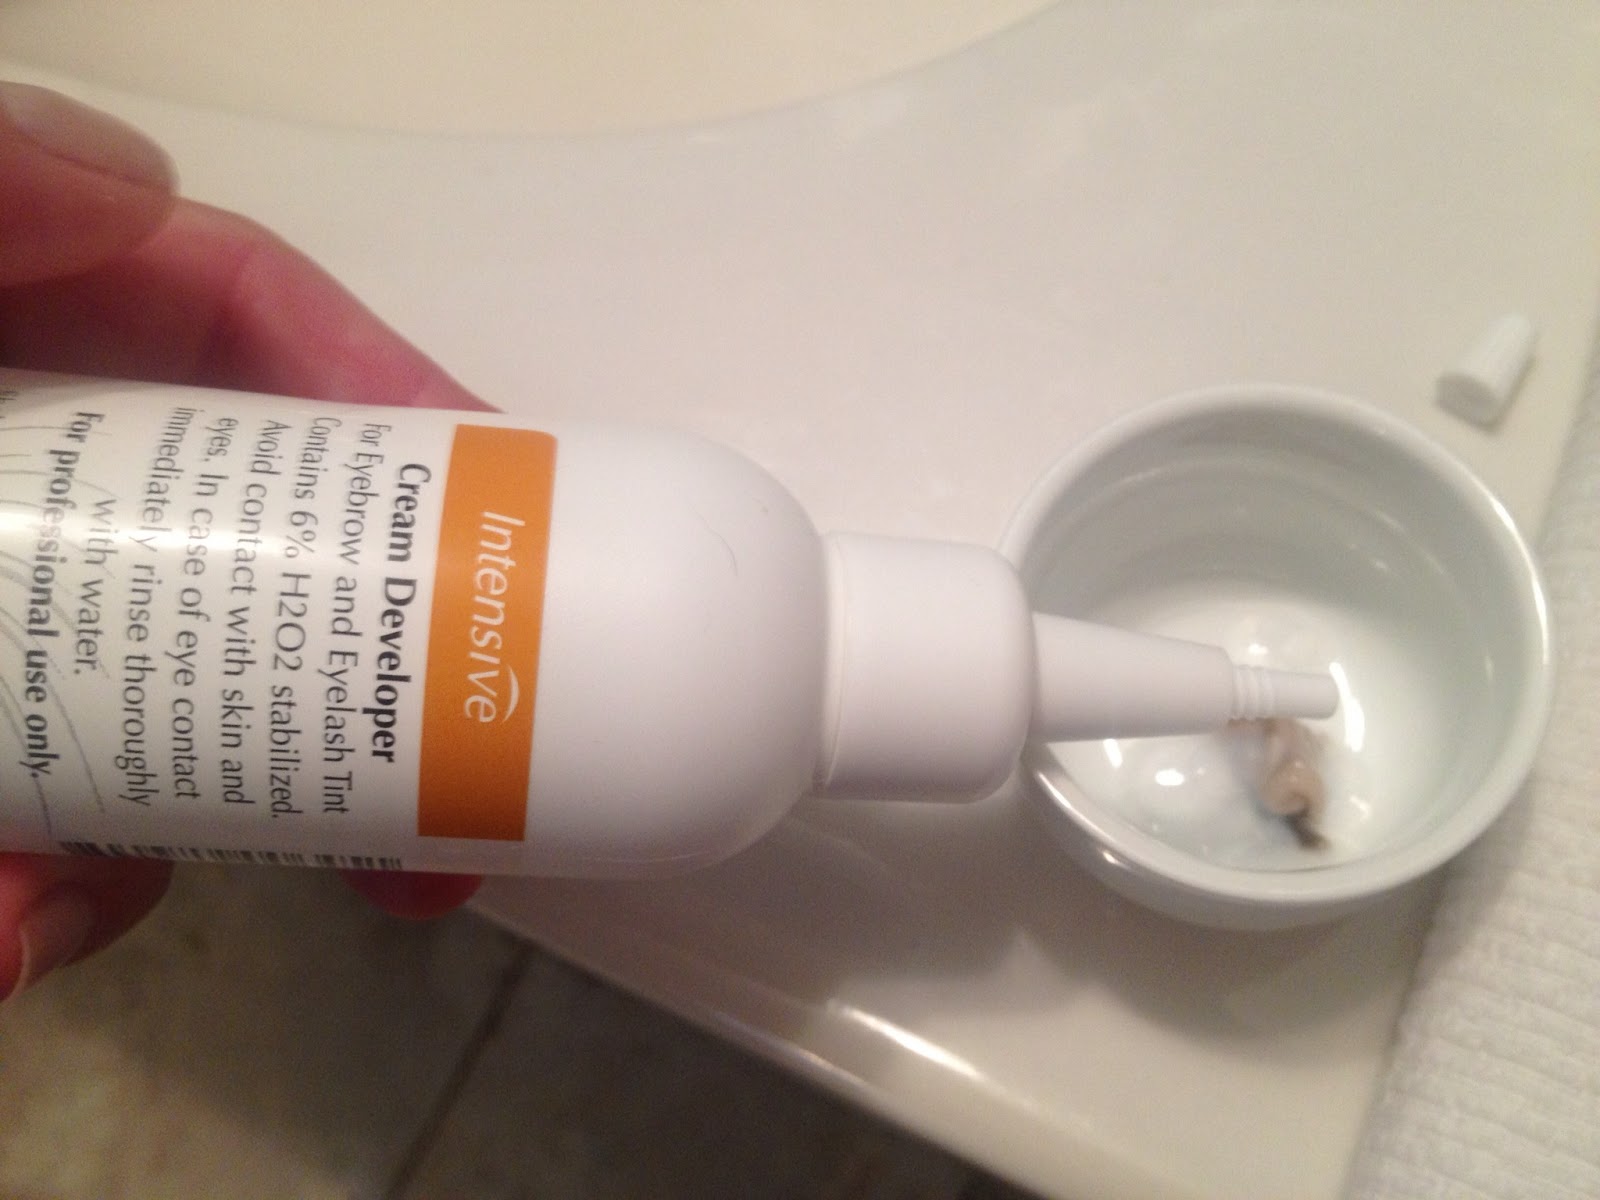 |
| 15. Squirt the same amount of developer ...... |
 |
| 16. Mix with applicator brush. |
 |
| 17. Apply color to brow hairs. |
 |
| Color is light & becomes darker... |
 |
| Color darkens |
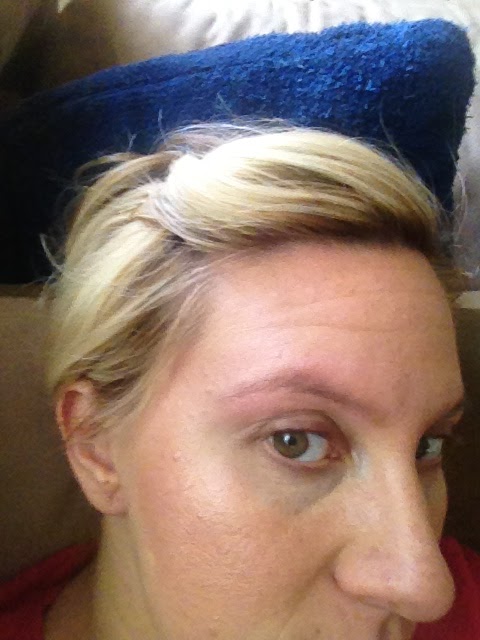 |
| End result of my color choice "Middle Brown". |
No comments:
Post a Comment